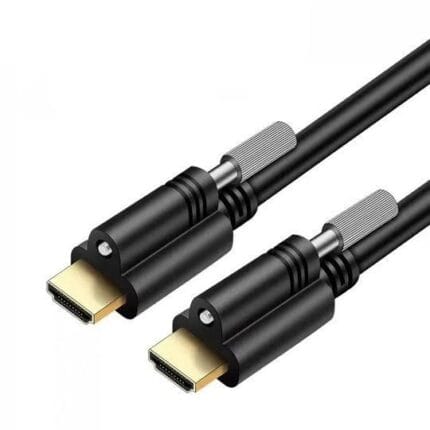
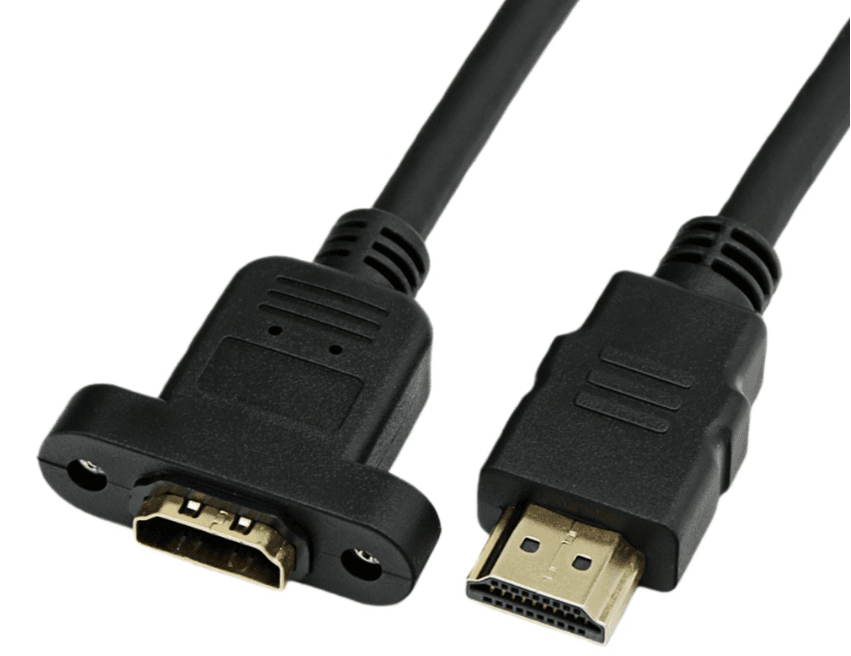
HDMI Panel-Mount Extension Cable with Latch Lock (HDMI 2.0, 4K@60Hz, 18 Gbps, M3 Screw)
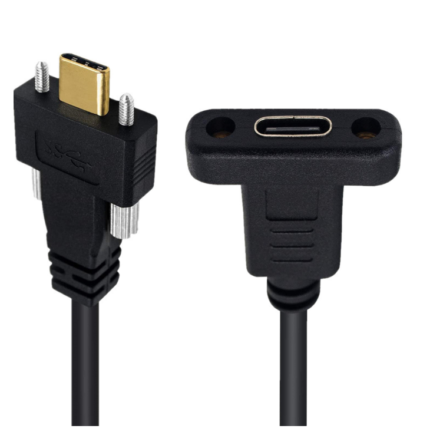
An HDMI panel mount extension cable that moves the port to a cabinet or kiosk panel on a two-screw flange, with a latch lock to hold the plug in.
Overview
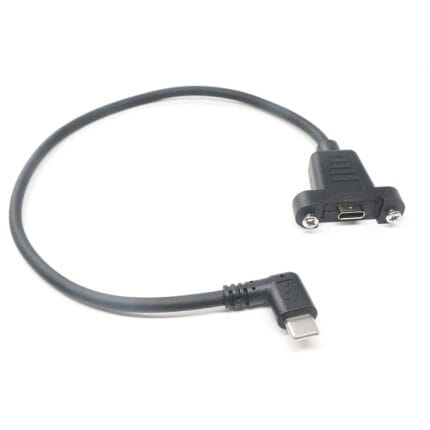
An hdmi panel mount extension cable moves the HDMI port from the back of a player or PC to the surface of a cabinet, and locks it there. The reason to do it is that the HDMI socket on the equipment is the part least able to survive daily plugging: it is soldered to a board and it takes the full load of every cable that gets pulled, snagged or leaned on. This build puts a female HDMI-A socket on a two-screw flange, so the wear lands on a part you can replace in minutes.
Key Specifications
| Connector A | HDMI-A Male |
|---|---|
| Connector B | HDMI-A Female Panel-Mount with Latch Lock |
| Standard | HDMI 2.0 (backward compatible with 1.4 / 1.2) |
| Max Resolution | 4K @ 60 Hz |
| Bandwidth | 18 Gbps |
| Conductor | 30 AWG Oxygen-Free Copper |
| Shielding | Aluminum Foil + Braid + Drain |
| Connector Plating | Gold-Plated |
| Mount Pitch | 27-29 mm |
| Lock | M3 Thumbscrews |
Why the port on the equipment fails first
An HDMI connector is a friction-fit interface with no retaining feature. On a display or a player in a public space, that is a problem:
| Cause | What it does | Result |
|---|---|---|
| Daily plugging at the back of a rack | Wears the receptacle contacts | Intermittent picture, then no link |
| Cable weight on a horizontal port | Levers the shell against the board | Cracked solder joints |
| Vibration in vehicles and machinery | Frets the contacts | Link drops and re-negotiates |
| Someone trips on the cable | Snatches the plug out | Damaged port and a damaged cable |
Fitting a flanged socket converts all four of those into a two-minute parts swap.
Panel cutout and screw pitch
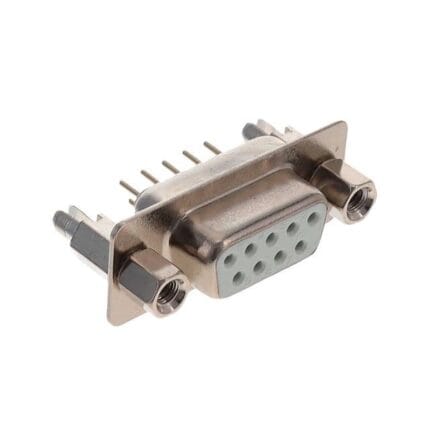
- Mount pitch is 27 to 29 mm on this body, measured between the two screw centers. Check it against your panel before drilling.
- Screws are M3. If your panel hardware is 4-40 UNC, say so and we supply the matching thread.
- Panel thickness sets screw length. A screw that bottoms out feels tight and clamps nothing.
- Allow depth behind the panel for the socket body plus the cable bend radius. It is more than it looks on a drawing.
- De-burr the opening. A rough edge is what cracks a flange when it is tightened.
Thread sizes and pitches above are general hardware definitions. Your assembly is built and verified to the dimensions on your drawing.
The interface is HDMI, and the version on the equipment at each end is what decides the resolution and features you get, not the cable on its own.
Identifying what you have now
- Check the HDMI version on both devices. The link runs at the lower of the two.
- Count the ports and note which one is used so the panel socket gets labeled correctly.
- Measure the run from the equipment port to the panel position, following the route.
- Confirm the mounting surface thickness and what is behind it.
- Decide whether you need the latch or a plain flange. The latch holds the plug in at the panel; the screws hold the socket to the panel. You usually want both.
Fitting and verifying the panel port
- Test-fit the flange in the cutout before you wire anything up.
- Fix it with both screws, evenly, and do not overtighten into a thin panel.
- Connect the male end to the equipment with the power off.
- Plug a display into the panel socket and confirm the resolution and refresh rate you expect, not merely that a picture appeared.
- Pull gently on the plug. If the picture drops, the latch is not engaged.
Typical Applications for This HDMI Panel Mount Extension Cable
- Kiosks and self-service terminals with a user-accessible display port
- Digital signage and information displays in enclosures
- Industrial PCs and panel-mount workstations
- Conference rooms and classrooms where cables get plugged daily
- Vehicles, boats and machinery where vibration is constant
How to specify your build
- HDMI version on the equipment at each end.
- Length from the equipment port to the panel.
- Screw pitch and panel cutout, and thread: M3 or 4-40 UNC.
- Panel thickness.
- Latch or plain flange.
- Jacket and whether the run passes near motors or drives.
- Quantity, and whether this is a prototype or a production order.
Workmanship and testing
Assembly and inspection follow IPC/WHMA-A-620 Class 3 workmanship criteria under our ISO 9001 quality management system, and every unit passes 100% continuity and pinout testing before it is packed. Conductor range is 32 to 12 AWG. Flange builds get a fit check against the stated cutout on the production batch. Figures quoted for the HDMI interface are the industry-standard values for that version; your assembly is built and verified to the values on your drawing.
RoHS and REACH declarations are provided per project together with the agreed test reports; the documentation scope is listed under certifications and compliance. If your drawing specifies a UL style, we build to that drawing and supply the UL reference with the shipment instead of substituting an equivalent. Production runs on the same lines described under cable assembly and wire harness production, where cutting, termination, molding and 100 percent electrical verification sit under one roof. More background: our build-to-print process. Any tooling we cut for this part stays yours, maintained in our own tool room under your part reference.
Custom builds and ordering
On HDMI Panel-Mount builds, prototype lots run from 1 to 50 pcs and leave in 3 working days. Production runs of 500 pcs and up ship 14 working days after approval. Tooling not already held adds around 10 working days. HDMI OEM and ODM shipments carry your part number and labeling, and material certificates plus first-article reports are available.
Related HDMI and panel mount assemblies
Display installs usually need one of these alongside:
- HDMI 8K Panel Coupler with Screw Lock
- 8K HDMI Screw Lock Cable Assembly, HDMI 2.1, M3 Panel Screws
- Ultra High Speed HDMI Cable for 8K Video Walls
- Active Optical HDMI Cable for Boardrooms and Ceiling Projectors
- Car Dashboard Flush Mount USB and HDMI Extension Cable
- Control Cabinet Service Interface with RJ45 and USB-C Front Plate
- IP67 Keystone Panel Frame for Field-Replaceable RJ45 Modules
Full range: screw-lock molded cable assemblies.
Frequently Asked Questions
<div class="
For a related configuration, see the USB Type-C Latch-Lock Extension Cable (USB 3.1, 5 Gbps, Over-Molded Strain Relief, USB-IF Latch).
hkw-faq”>
What is the screw pitch?
27 to 29 mm between the screw centers on this body, with M3 threads. If your panel is drilled for 4-40 UNC, name it on the order.
Will it pass 4K at 60 Hz?
The link runs at whatever the lower of the two devices supports. This build is made for HDMI 2.0 equipment; state the version on your devices and we will confirm.
Do I need the latch as well as the screws?
Usually yes. The screws hold the socket to the panel; the latch holds the plug in the socket. They do different jobs.
Can I have a longer run to the panel?
Yes, to order. Measure the route and tell us what the cable will pass near.
What is the minimum order?
On HDMI Panel-Mount builds, prototype lots run from 1 to 50 pcs and leave in 3 working days. Production runs of 500 pcs and up ship 14 working days after sample sign-off.
| Connector A | HDMI-A Male |
|---|---|
| Connector B | HDMI-A Female Panel-Mount with Latch Lock |
| Standard | HDMI 2.0 (backward compatible with 1.4 / 1.2) |
| Max Resolution | 4K @ 60 Hz |
| Bandwidth | 18 Gbps |
| Conductor | 30 AWG Oxygen-Free Copper |
| Shielding | Aluminum Foil + Braid + Drain |
| Connector Plating | Gold-Plated |
| Mount Pitch | 27-29 mm |
| Lock | M3 Thumbscrews |